If you enjoy taking pictures and all things having to do with, come on, here's the "rest of the story". Otherwise, so sorry, not much else here today:)
I'm such a photography fan, when I find something that is free that helps produce great photos, edit photos, share photos, store photos etc, I get really excited. You have to be careful - warning warning warning . . . you COULD spend ALL your free time, and not so free time in pursuit of this topic! But it can be a lot of fun, and we're all for preserving those special moments and memories right?
Let's say you've had time to examine some of the digitial photography articles and tutorials I shared previously. Now you want to be able to touch up those photos, edit them a bit, share them with friends and family. Once again, this will be the tip of an iceberg. But you gotta start someplace . . .
Here is one of my big FREE discoveries. This is a somewhat new website for editing photos online that is so much fun. It's called PICNIK. And it's almost as fun as the name implies. You open your photos up online and can edit them to your hearts content. You can crop, resize, rotate, add special effects with lighting and color, insert cute phrases or other text on the photos. All this and more. One of my favorite things to use is the collage tool. You can create some really fun photo collages. Best of all you can do all of the above for FREE. Go try it right now! You can pull up a photo right off of your hard drive or access photos you have stored online through Picasa, Flickr, Photobucket or Facebook. (Caution: you might fall in love with it like I did and want a gazillion more fonts and effects for the $24.95 annual expense to upgrade)
My next thought to share is only half free. It does require either Adobe Photoshop or Adobe Elements. (Elements is a great investment by the way if you're looking for some almost professional photo editing software that doesn't require internet access - if you've been thinking about it for a while, Costco usually has the best price and occasionally does a sale or coupon for it). The FREE part are the actions that are available online for FREE that will add some really beautiful and cool looking special effects to your photo.
Actions are a set of instructions programmed into the software that automate the editing process so that you only push a button, occasionally make a few adjustments, and the software does the rest and you end up with a really cool effect. Here's an example of one below.
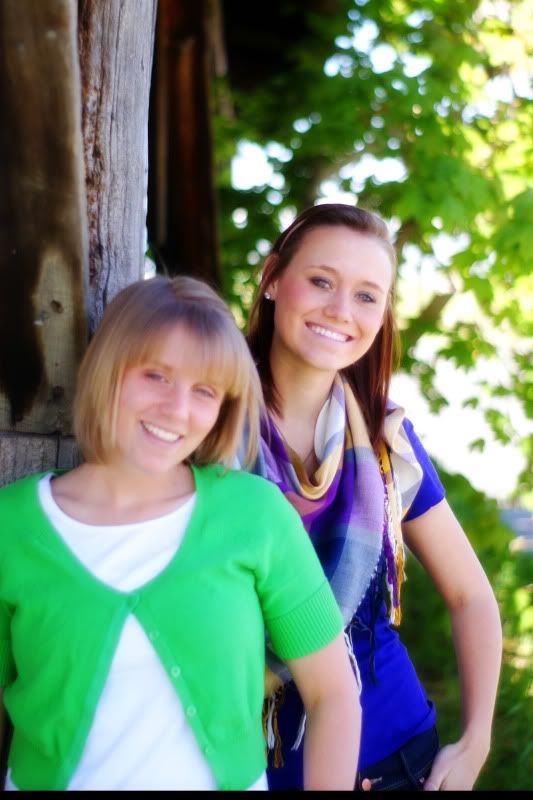
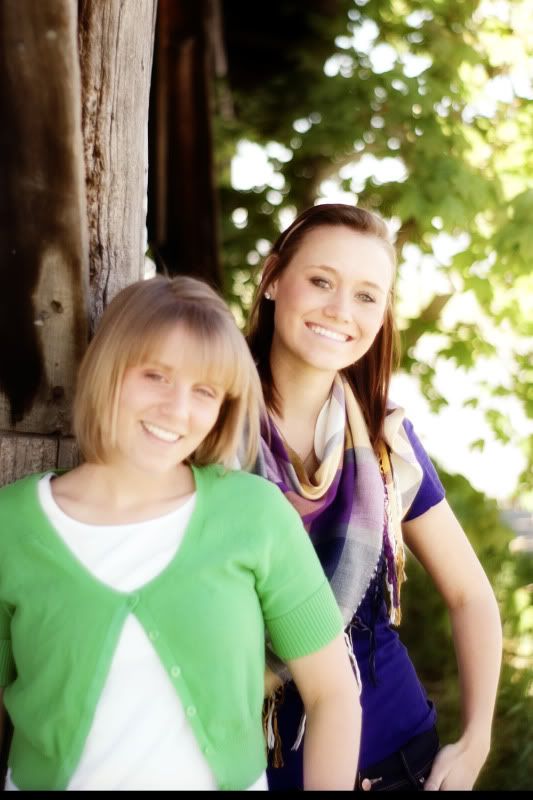
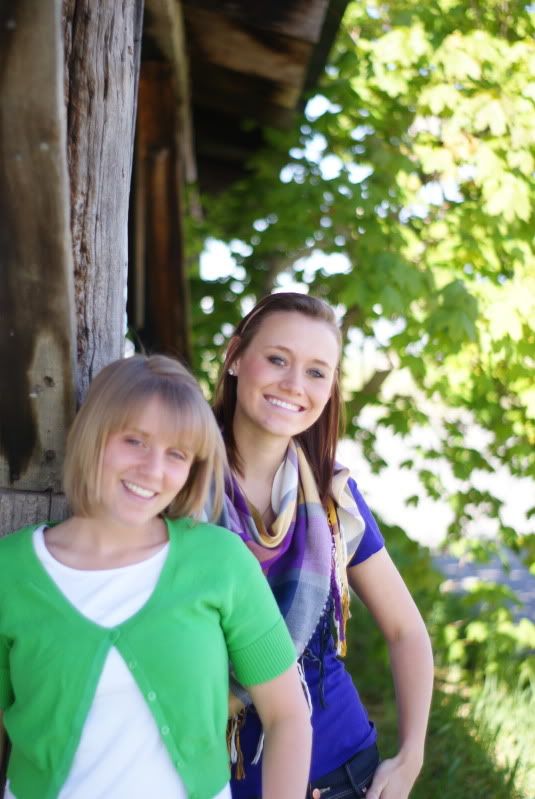
(here is my SOOC image or straight out of the camera)

(Here is the same image with Pioneer Womans Lovely & Ethereal Action applied)

(And here is the image again with Pioneer Womans Soft & Faded action added)
My two favorite sites for FREE actions are Pioneer Woman Photography and Coffeeshop. Visit Pioneer woman here to see some of the special effects available and to find links to download the actions. Pioneer Woman actions are not compatible with Elements currently, but she say's she is working on that. The actions at Coffeeshop are compatible with Elements. You can also find instructions on how to install actions from either Pioneer Woman or Coffeeshop here.
Actions are addicting and a lot of fun but do require a basic knowledge of Photoshop or Elements. If you are just getting into that sort of thing, both Pioneer Woman and Coffeeshop offer some wonderful FREE tutorials if you click here and here.
(The Pioneer Woman - Ree Drummond)

My last big FREE hint of the day - and then onto the LARGE photo info!
Digital Scrapbook Place is my favorite place for FREE downloads of backgrounds, accessories for dressing up blogs, photos, or digital scrapbooks. You do have to register and sign in to their site in order to access their freebies. But they have a wonderful selection that changes all the time. (If you can't see the freebies gallery, it's because you haven't signed in.) (Hint - these are mostly useful if you do digital scrapbooking or are a big fan of Photoshop. This site also has my very favorite Photoshop Tutorials for learning basic Photoshop principles!! This is a great one for just getting started with Photoshop.)
Okay, this is how I get really high quality, lovely images posted to my blog. I don't do this for EVERY photo because it does require more effort. But for those photos that you want to be REALLY sharp - this is what I do.
You need to create a FREE photo account with Photobucket. (I tried uploading the exact same photo to Flickr, Picasa and Photobucket, and Photobucket was the winner for producing the most crisp, high quality photo). Then you want to be sure you're starting with a good high resolution image (taken with a digital camera with the resolution set on large - you all know how to make that adjustment on your digital camera right?) It can be cropped, I usually crop many of my photos, and if your camera is at least 7 megapixels you can crop and still get a great image if it's clear and well focused to begin with.
Okay, so you're signed into your new Photobucket account, look for the blue "choose files" button. Wait, don't click on it just yet. Right below it be sure to select either 800 x 600 or 640 x 480 from the drop down menu. That will ensure that you upload a nice large file. Then go ahead and click on "choose files" and select the photos you want to upload. Once your photos have finished uploading, click on the photo of your choice. It will bring up a large picture of your photo, look for the "share image" box to the left of the photo and click on the text box to the right of "HTML code". That will copy your photos HTML online storage address into your computer clipboard (like doing a ctrl C keyboard shortcut).
Now you're going to go to your blog site to insert the photo. In your Blogger program with the new post editor open, click on the tab on the top right that says "edit HTML". Find the exact part of your post where you want the photo to appear, then do a ctrl V (or file paste) to paste the HTML address of the photo from your clipboard into the blog post. Now click on the "compose" tab and you'll be able to see your photo in your blog post. If you click on your photo the enlarging tags will appear on your photos corners. I usually drag the lower right corner until I get an image that is about 700 or sometimes 800 pixels on the longest side of the photo. The pixels will appear as you drag so you can see the size.
(Some important information - if you click on your photo and the enlargement tags don't appear, try using a different browser. I've noticed with Windows the Google Chrome browser doesn't have that option currently as well as the Mac Safari browser. I usually stick to Firefox most of the time myself. Also important, if you have a 3 column blog, you won't be able to insert these large photos because you don't have that much room in your blog, but you probably can size them much large than Blogger currently makes them if you experiment a little bit. But the GOOD thing is you will have a much sharper and clearer photo than if you just upload it through the Blogger tool).
Whew! Are you all about tired out now, that was a lot of thinking. Hope this is helpful. Like I said, once you get started there's no end to it all, just the tip of an iceberg, and plan on never cleaning your house again - editing photos is always MORE fun. So I have learned to just accept a little dust on top of the furniture . . . well, maybe more than a little, you could probably write your name in it today:)

If you have time, take a look at my photography blogs:
Pickled Pepper Photography
and Just ME, the Picture Taker
Pickled Pepper Photography
and Just ME, the Picture Taker


5 comments:
All this talk of free and I want to go out an buy a new version of Photoshop. Mine is 6 years old and only on my old computer, so I never use it!
I will have to check out that editing site.
Okay, I have to read this a bunch more times to get everything. My old Photoshop doesn't work on my new computer. So I did a 30-day free trial of Photoshop CS-4 (which is the full version that costs $700)...you can do that for free at Adobe...and loved the Pioneer Woman action sets so so so much. And then, of course, couldn't afford the full version, and bought Photoshop Elements. I am super glad to have my editing software back, but I am suffering with out the action sets that I have become addicted to. :( But I am muddling through. Thanks for all the great tips. I'm going to have to try to the large photo thing.
Okay, I put a BIG photo in my photo blog. HOW FUN WAS THAT??? Thanks for the tutorial. I would never have known I could do that. I also never knew you could size the photos in the Compose mode of blogger! Interesting...
Next I want to try the actions in Coffeshop!
Here is the big photo post, if you want to look.
http://vixfotos.blogspot.com/2009/06/spring-thunder.html
I just found this post and I'm so grateful for your links and information. I love to write and even code but uttering the word 'Photoshop' gives me chills. I have it but am afraid to use it! My camera is merely average and so are my photos. Hopefully these tricks will give them some more oomph. The actions sound really intriguing. Thank you so much.
I really like your blog. I first noticed the heading full of wonderful pictures. Next I noticed your not afraid to give us `the rest of the story` about flu shots, H1N1 in particular. Then I flipped over to this blog. You take marvelous pictures and your girls are very photogenic.
Thank you for dropping by my blog.
Joyful
Post a Comment